Skirting boards are often a forgotten element when painting a room, but they play a crucial role in the overall picture. Do you want to paint the skirting boards the same color as the wall, for example, or do you want them to stand out? Painting skirting boards can be a challenging task if you don't know where to start. In this blog, we share handy tips and tricks to ensure your skirting boards look perfect and blend seamlessly into the overall design.
Which skirting boards to choose for your project?
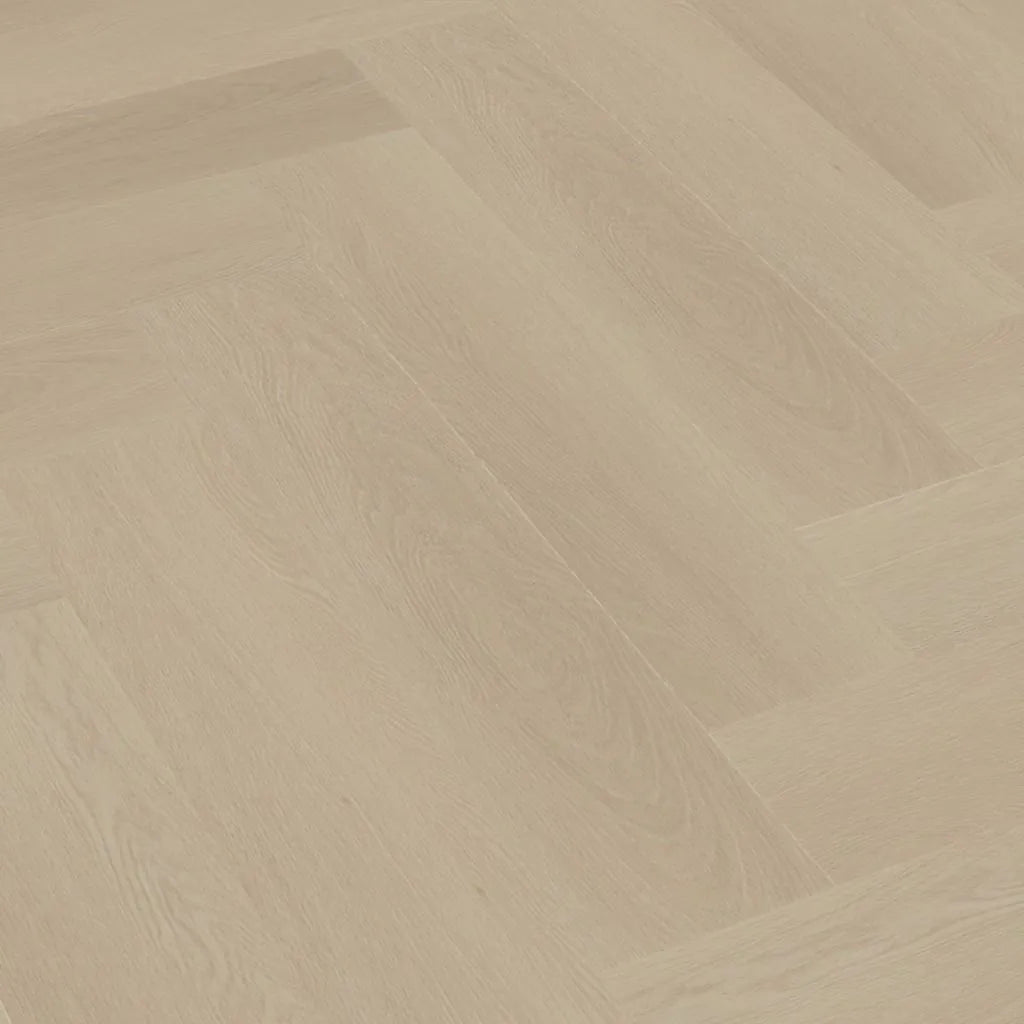
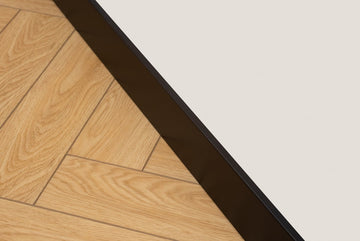
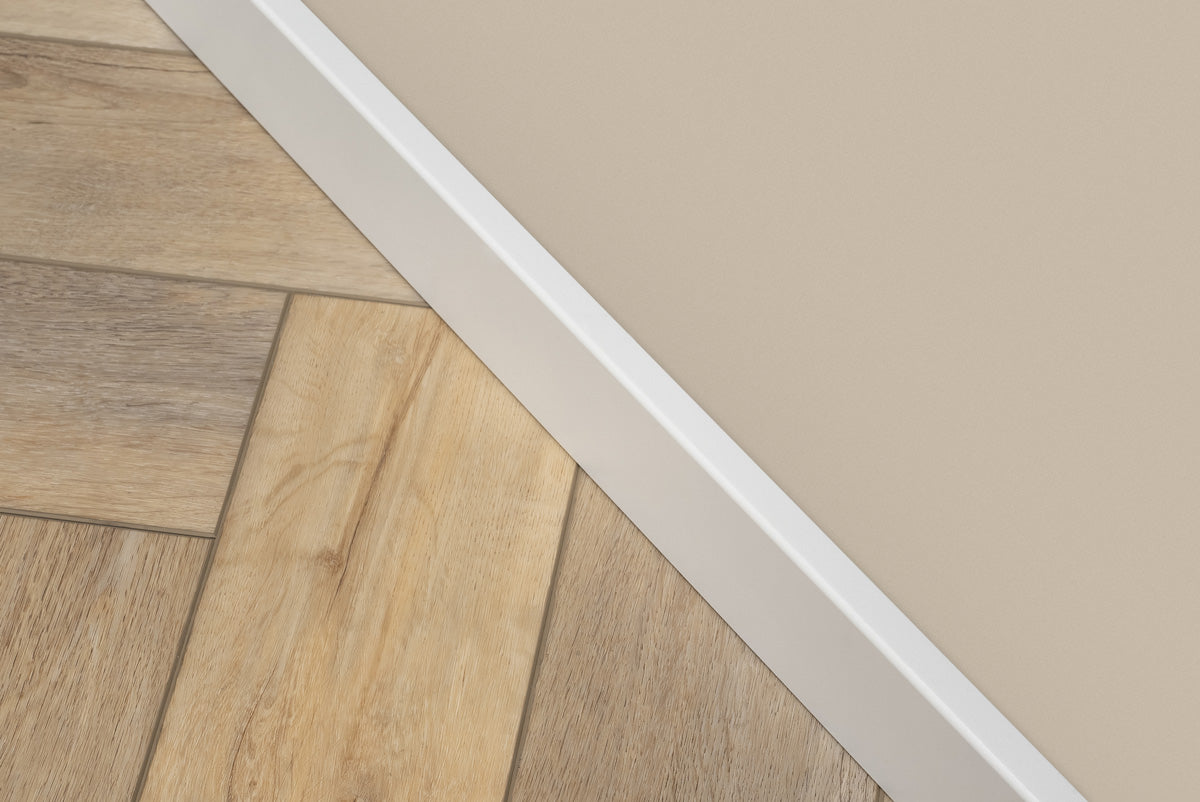
When choosing tall skirting boards, you have the luxury of varying dimensions and finishes, allowing you to accentuate your interior in a unique way. For those aiming for seamless integration with their wall, various dimensions are available, ranging from subtle to striking, so you can choose what best suits the room's style.
Additionally, the choice between white primed or pre-painted in a specific RAL color offers further personalization possibilities. White primed skirting boards allow you to determine the final color yourself, while pre-painted skirting boards in a specific RAL color immediately provide a finished look that perfectly matches the interior theme. Are you planning to paint your skirting boards yourself? Then it is often most advantageous to purchase primed MDF skirting boards.
Would you like to read more about which skirting board you should choose for your project? Previously, we wrote a helpful blog about which skirting boards best suit your situation. Click here to read more.
Paint skirting boards the same color as the wall or not?
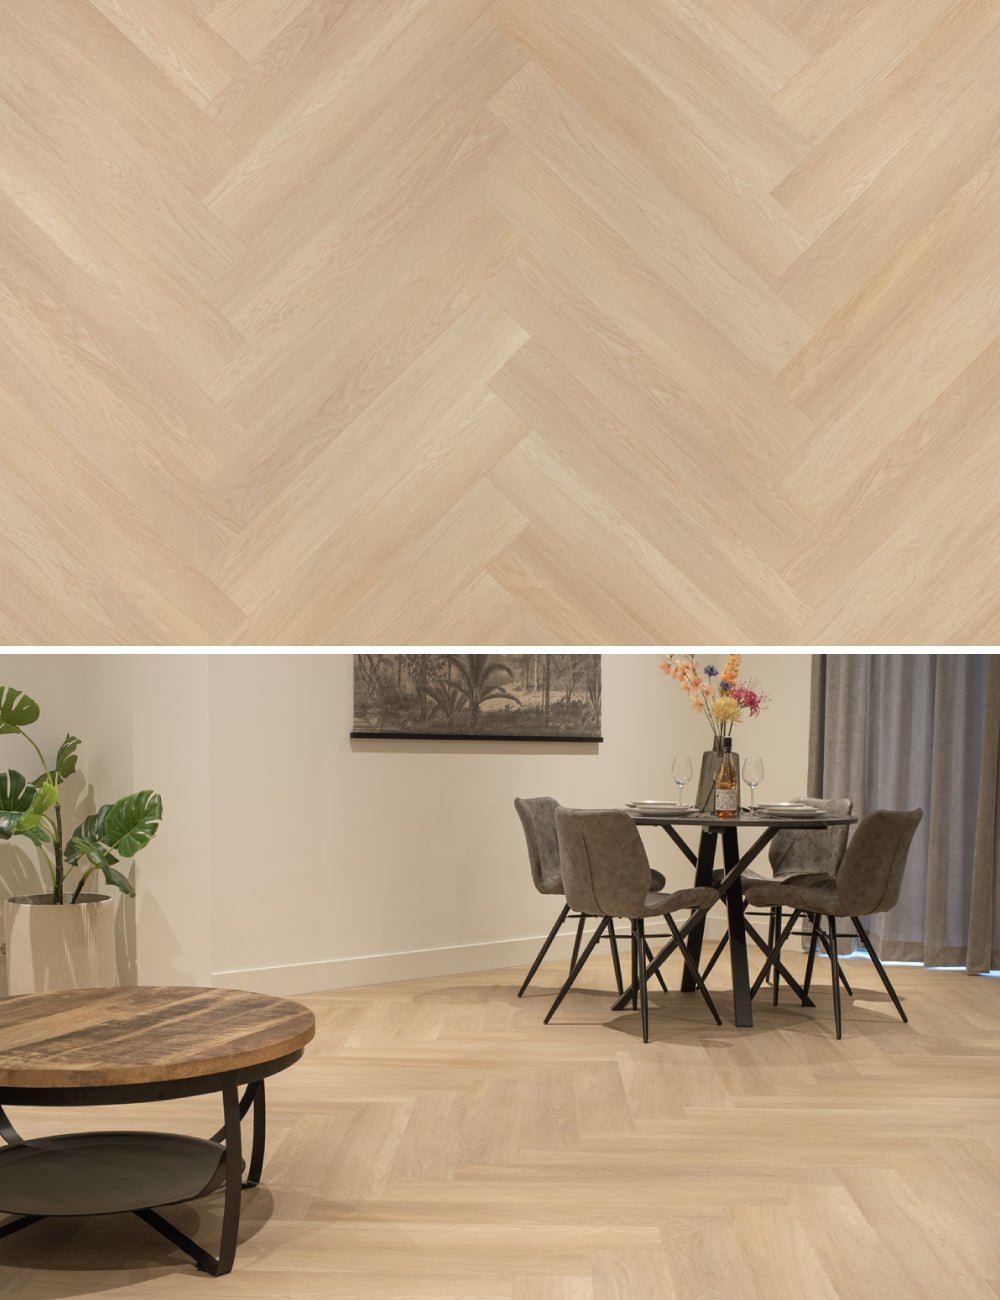
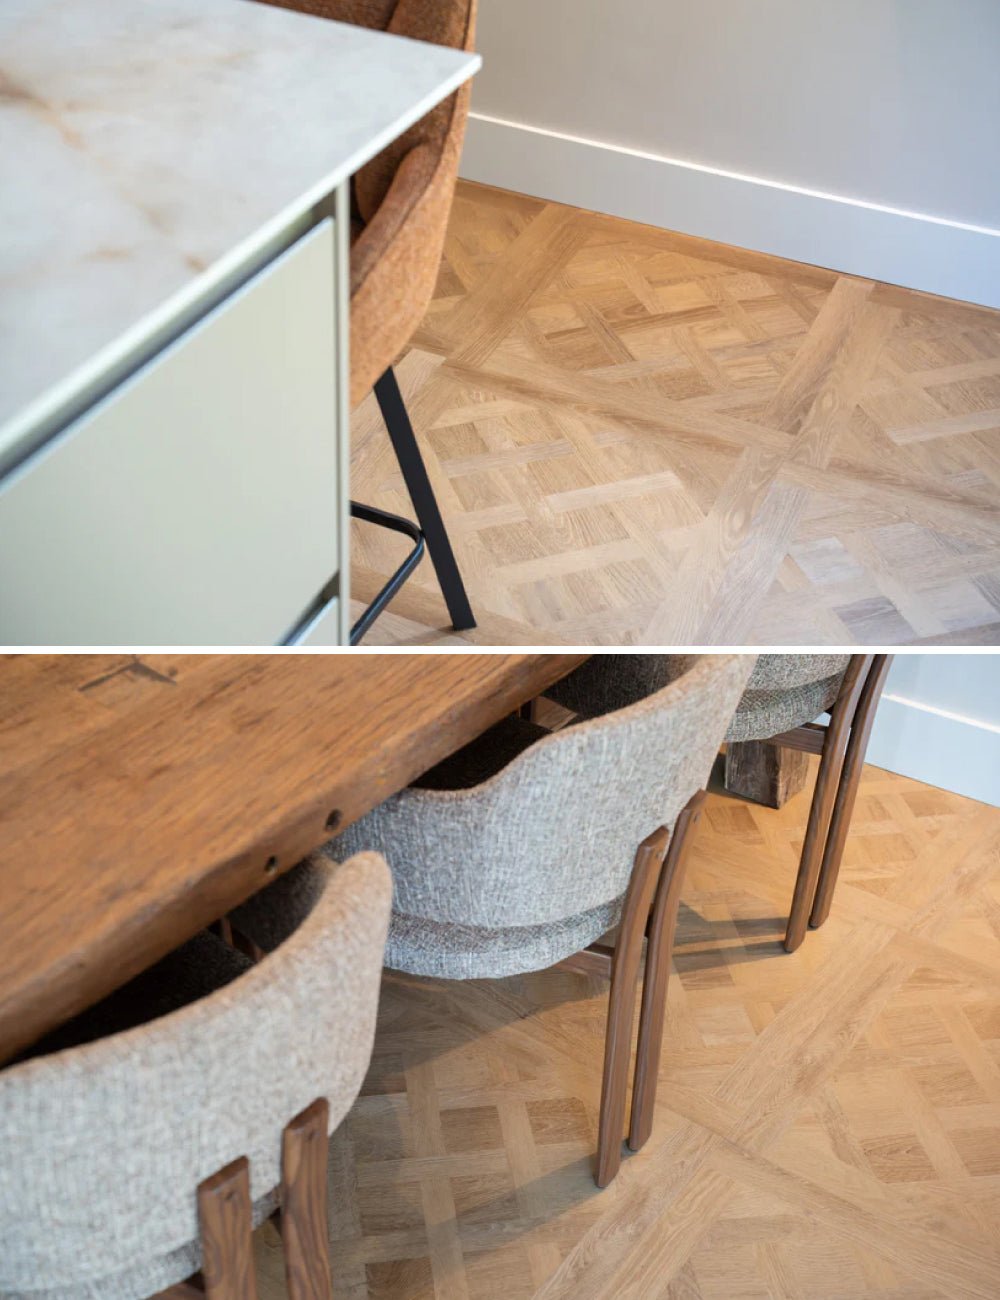
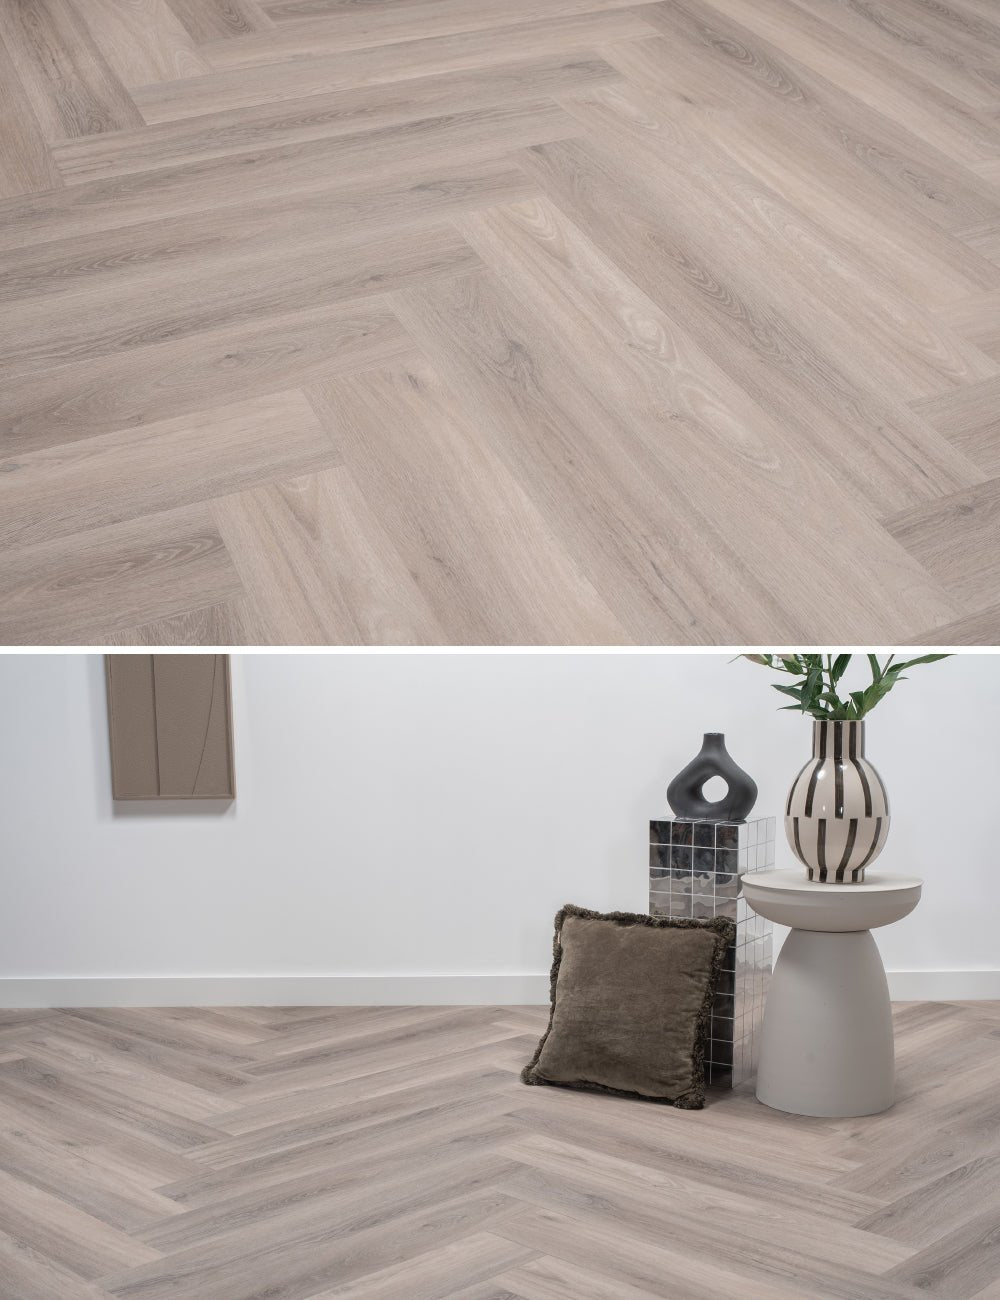
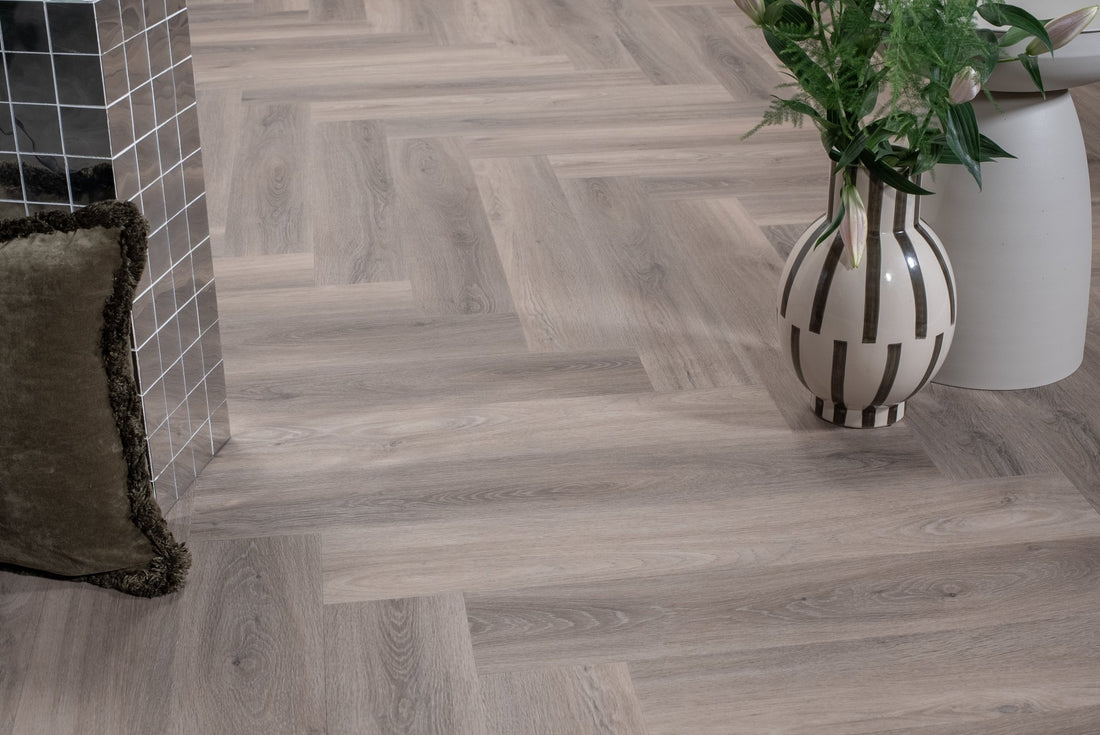
Some interior designers advocate for painting skirting boards the same color as the wall to create a visually cohesive effect, making the space appear larger and calmer. On the other hand, others choose to give skirting boards a separate color to add an accent and emphasize the architectural details of the room. It is essential to consider the overall style of the space and personal preferences when making this decision. Painting skirting boards simultaneously with the wall can create a seamless look, while the contrast between skirting boards and wall can offer a bolder aesthetic.
Step-by-step plan for painting skirting boards (existing skirting board)
To help you as best as possible with painting your skirting boards, we at flooring store Solza have compiled a handy step-by-step plan for you. See below the steps we advise you to follow.
Step 1: Cover up
Before you start painting, it is essential to protect the surroundings. Place covering material on the floor and furniture to prevent any paint splatters. Use painter's tape to neatly mask off the adjacent wall and floor.
Step 2: Degrease
Thoroughly clean the skirting boards with a degreaser to remove dirt, dust, and any grease residue. A clean surface ensures better paint adhesion and ultimately a much nicer result.
Step 3: Check for damage
Inspect the skirting boards for any damage, such as cracks or dents. Repair these with wood filler and sand the surface smooth after the filler has completely dried. An alternative would be to purchase new skirting boards.
Step 4: Sanding
Lightly sand the skirting boards with fine sandpaper. This helps the paint adhere better and creates a smooth surface. Don't forget to thoroughly remove the dust after sanding.
Step 5: Taping
Use painter's tape to mask off adjacent areas, such as the floor and wall. This ensures crisp lines and prevents paint from getting into unwanted places. Optionally, you can make the lines even crisper by using caulk on the edges.
Step 6: Apply (the right) primer
Choose the correct primer based on the material of the skirting boards. Apply the primer evenly with a brush or roller. Make sure the primer is completely dry before moving on to the next step.
Step 7: Topcoat
Apply the topcoat paint to the skirting boards. Again, use a brush or roller and work in long, even strokes. Let the paint dry completely before deciding if a second coat is needed.
Step 8: Remove tape
Carefully remove the painter's tape after the paint has fully dried. Pull the tape away at a 45-degree angle to maintain sharp lines.
Step 9: Store roller/brush
If you plan to reuse the same color in the future, store the roller or brush carefully. Clean them thoroughly and wrap them in plastic to prevent drying out.