
At Solza, we understand that renovating your floor can seem like a daunting task, but installing laminate over a tiled floor offers a quick and stylish solution. Without having to remove your old tiled floor, you can give your space a modern and fresh look. With our tips, materials, and expertise, your project will be a success. Read our step-by-step approach here!
Why laying laminate over tiles is a smart choice
Many customers at Solza choose to lay laminate over an existing tiled floor. And not without reason:
- Save time and money: Removing tiles is a time-consuming, messy process. By laying laminate directly over the tiles, you save both costs and work.
- Modern look: Laminate is available in countless styles, from wood look to stone look, allowing you to completely customize your interior to your liking.
- Comfort and insulation: In combination with the right underlayment, laminate offers extra comfort, better sound dampening, and insulation.
But to achieve the best result, good preparation is crucial. Below, we explain how to get started step by step.

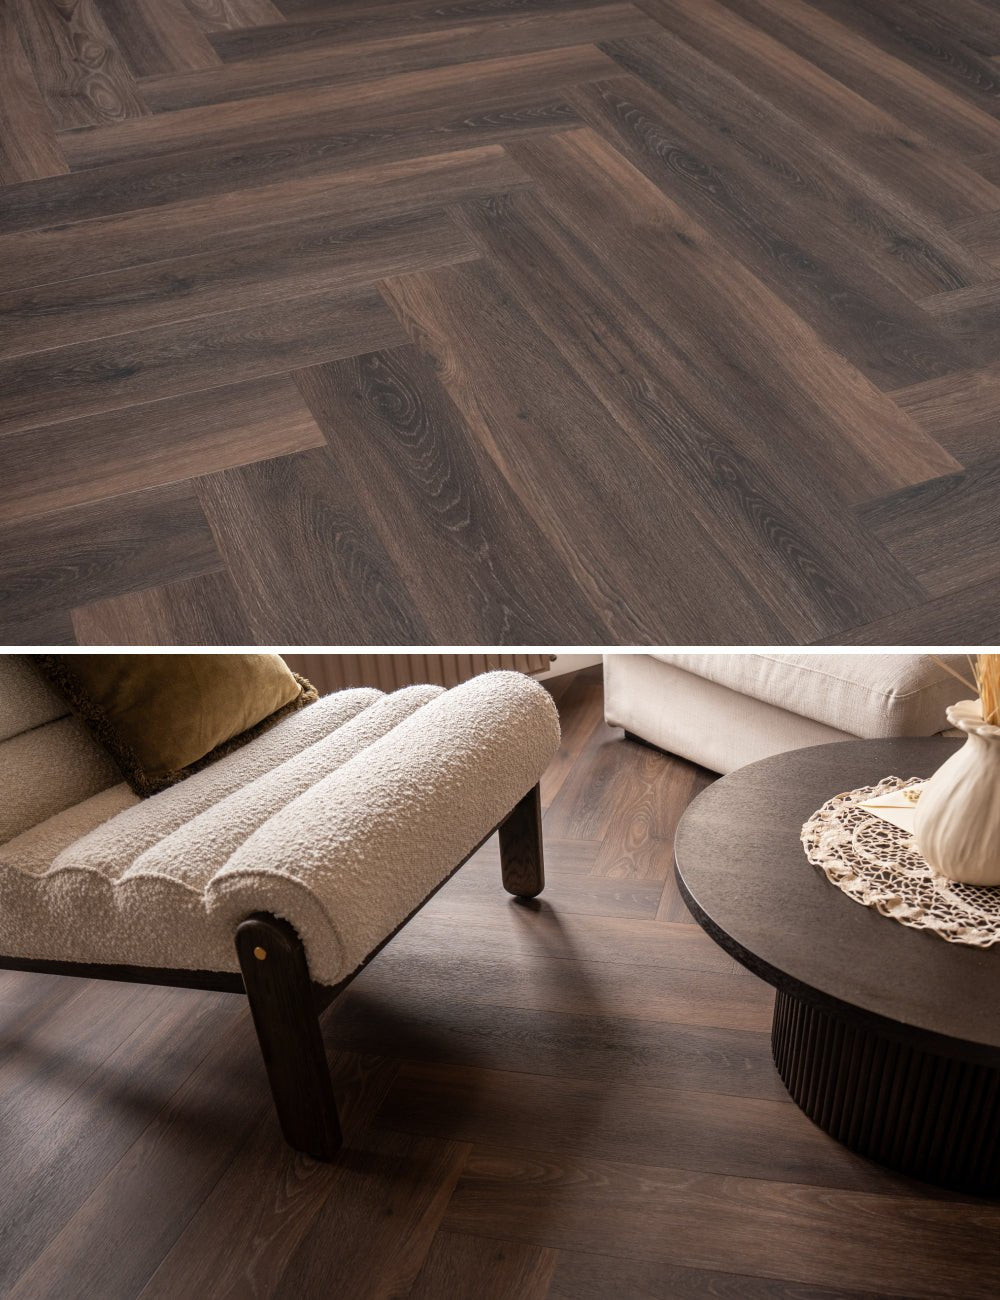
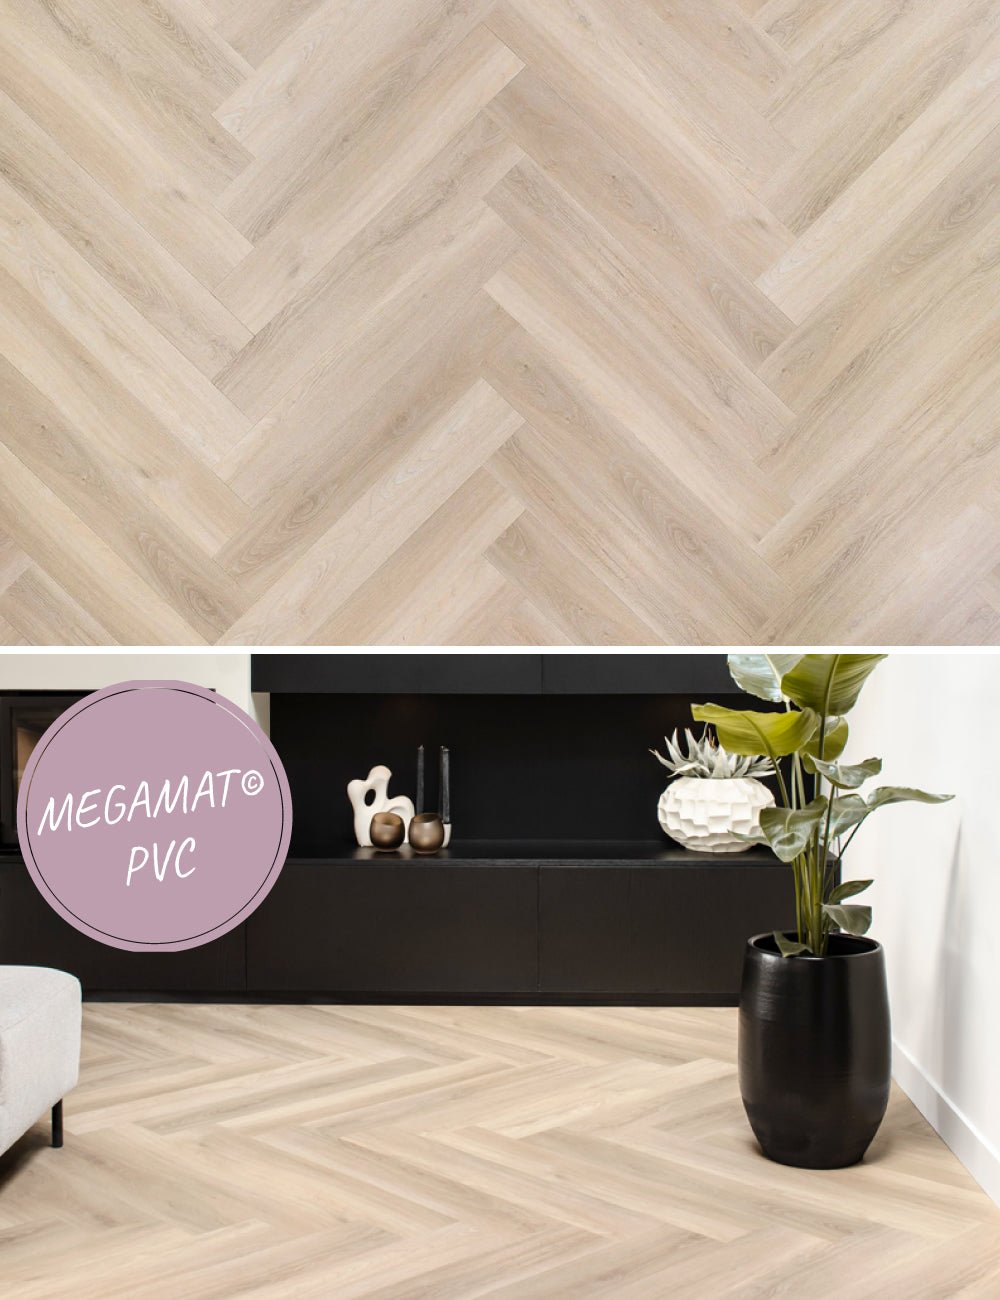
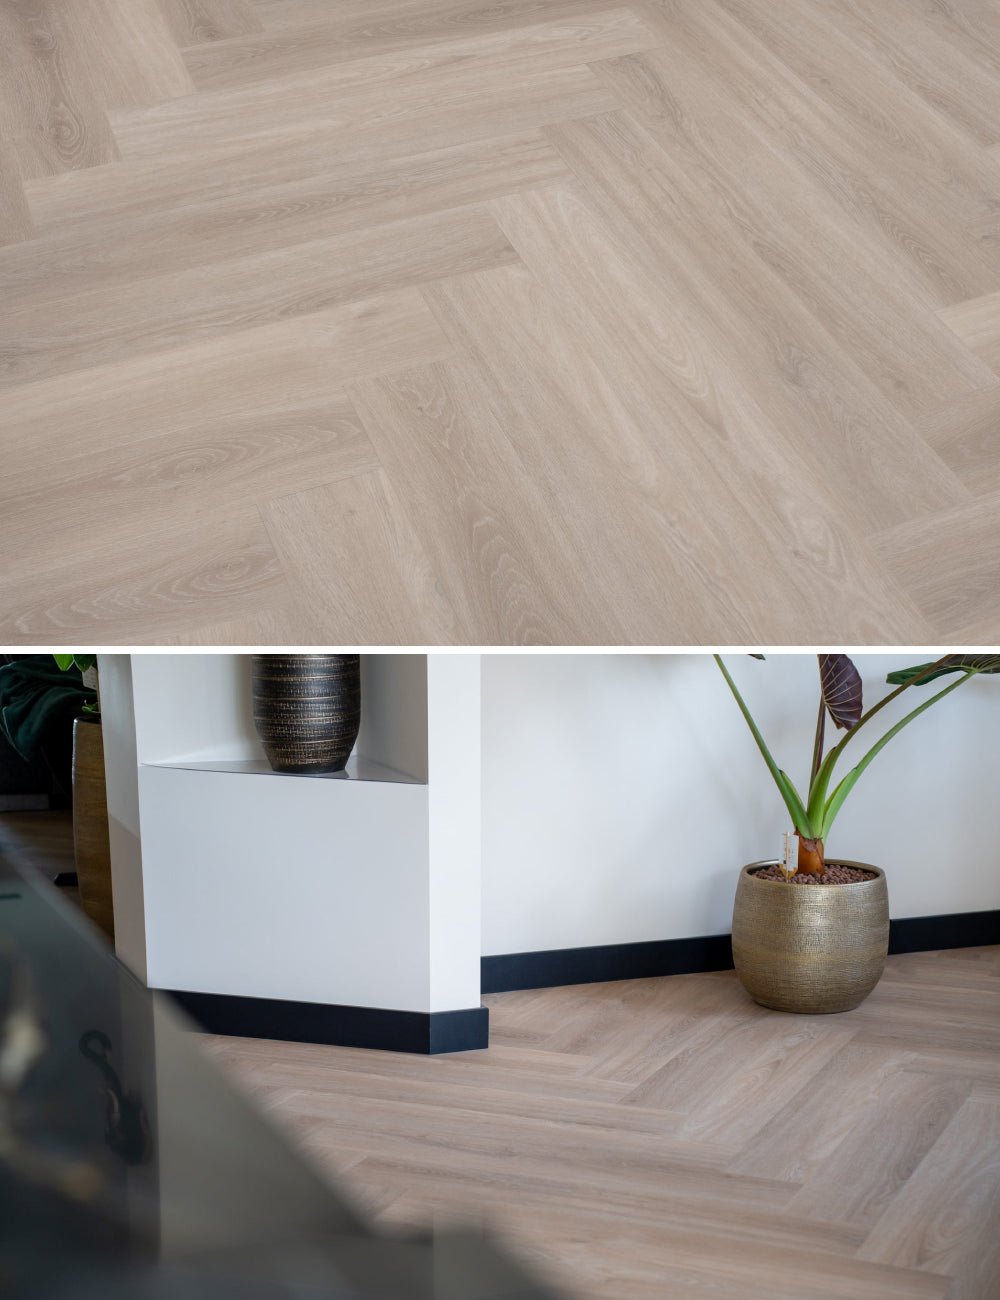
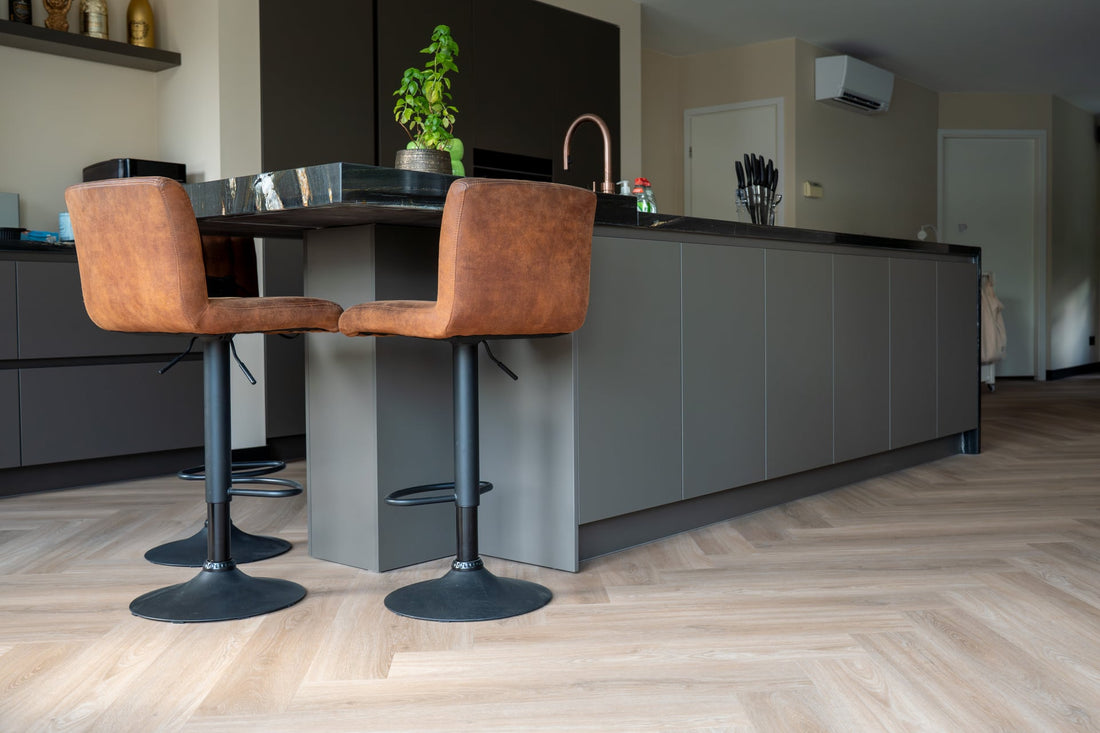
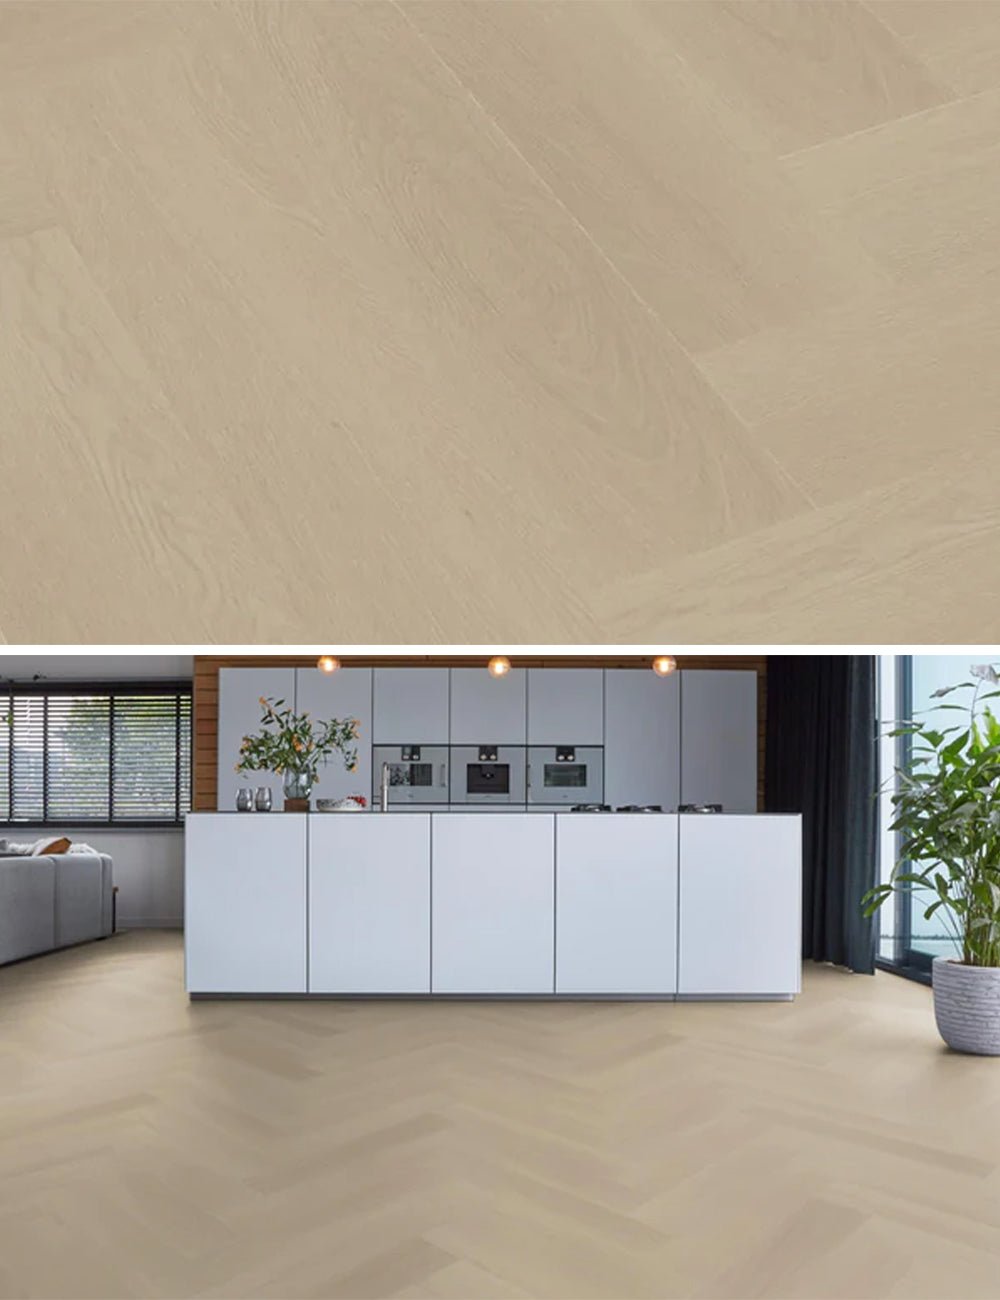
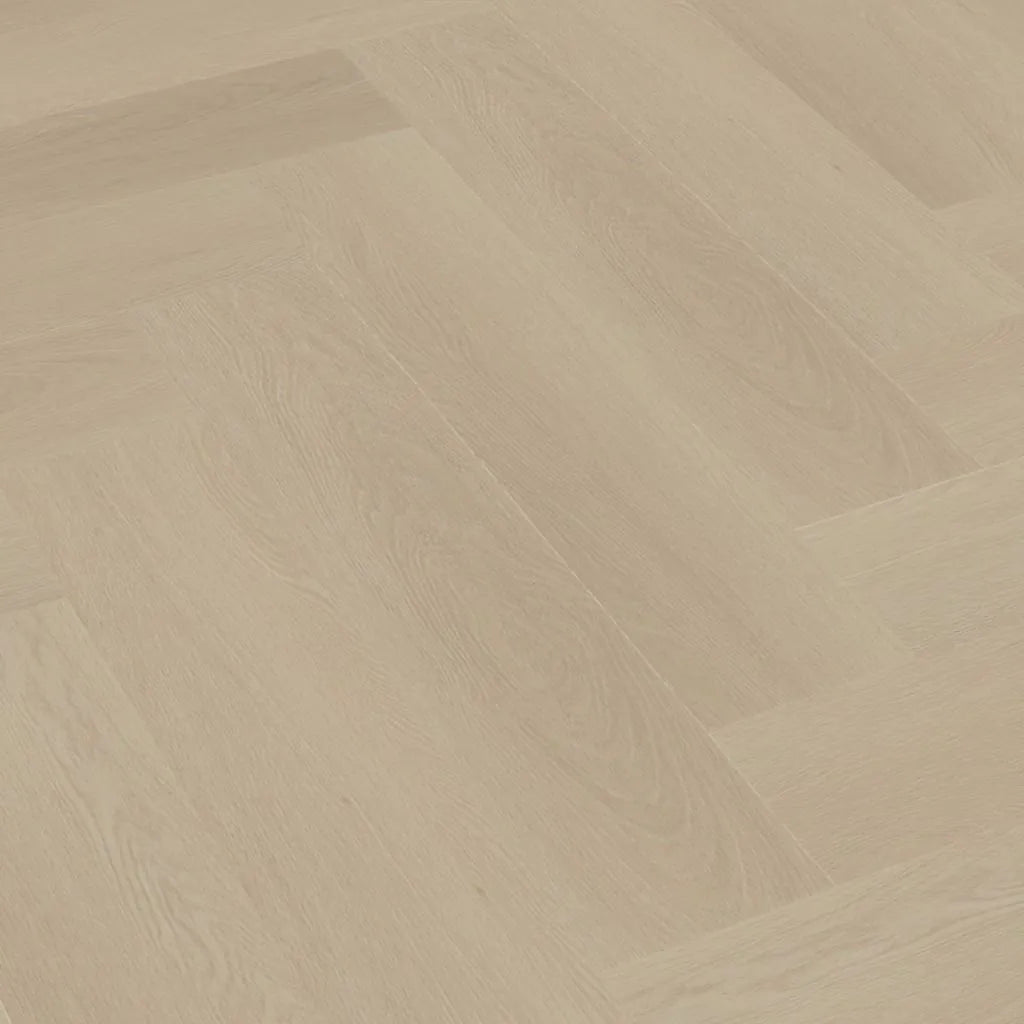
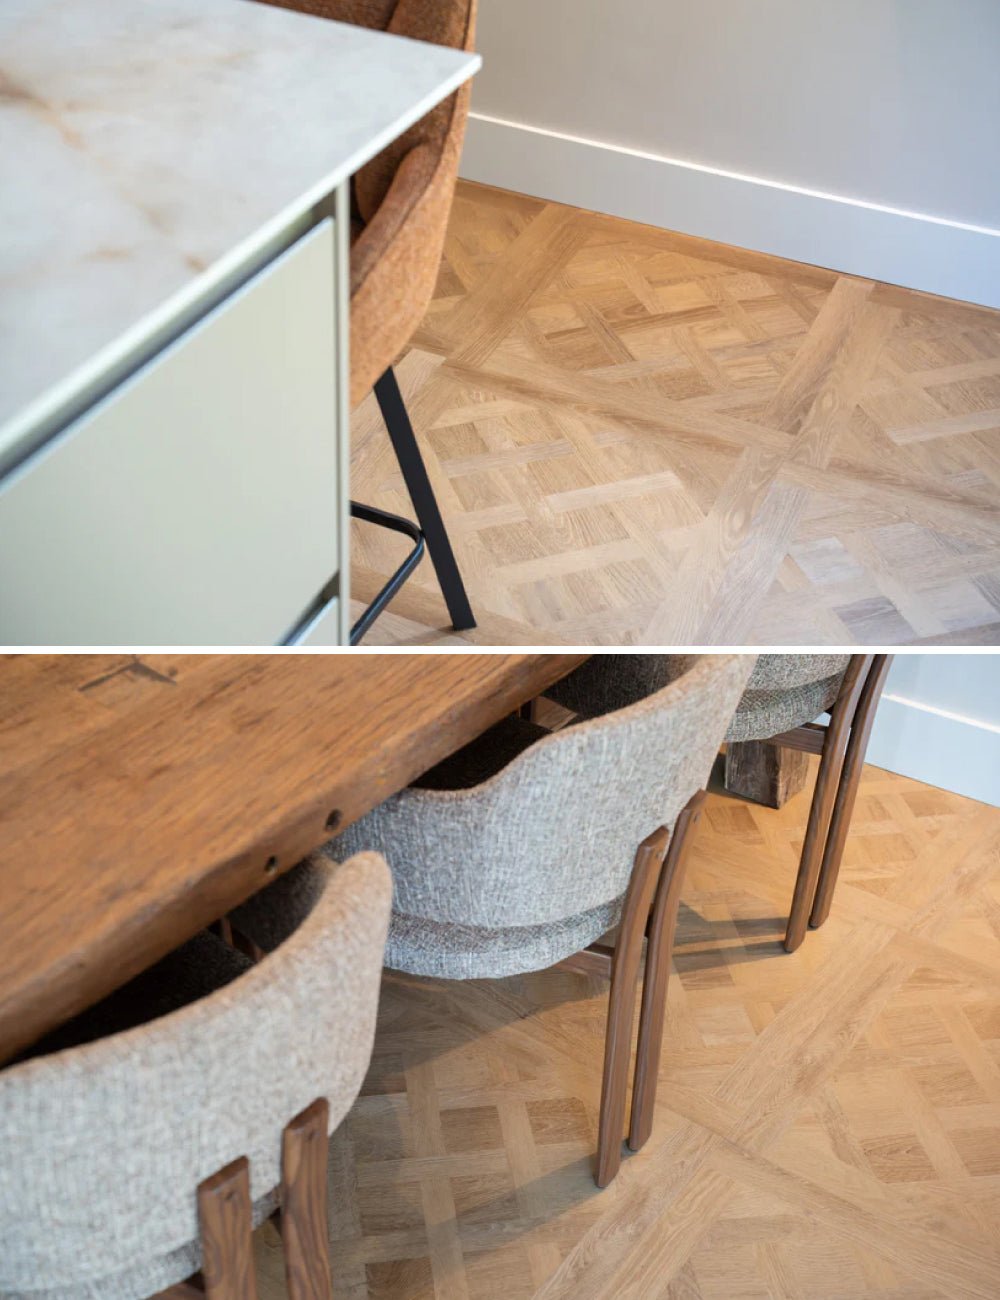
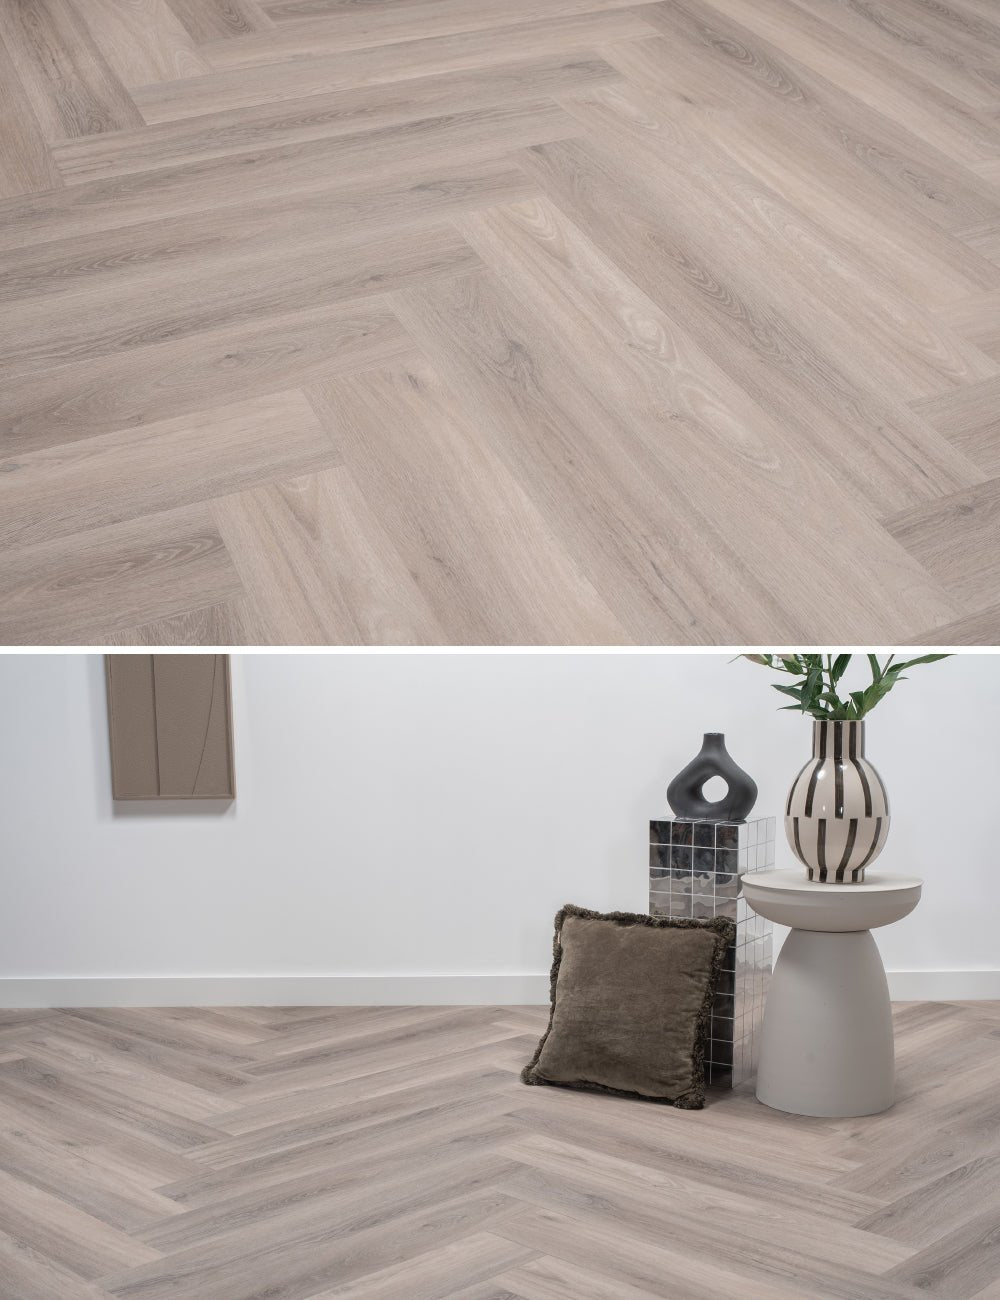
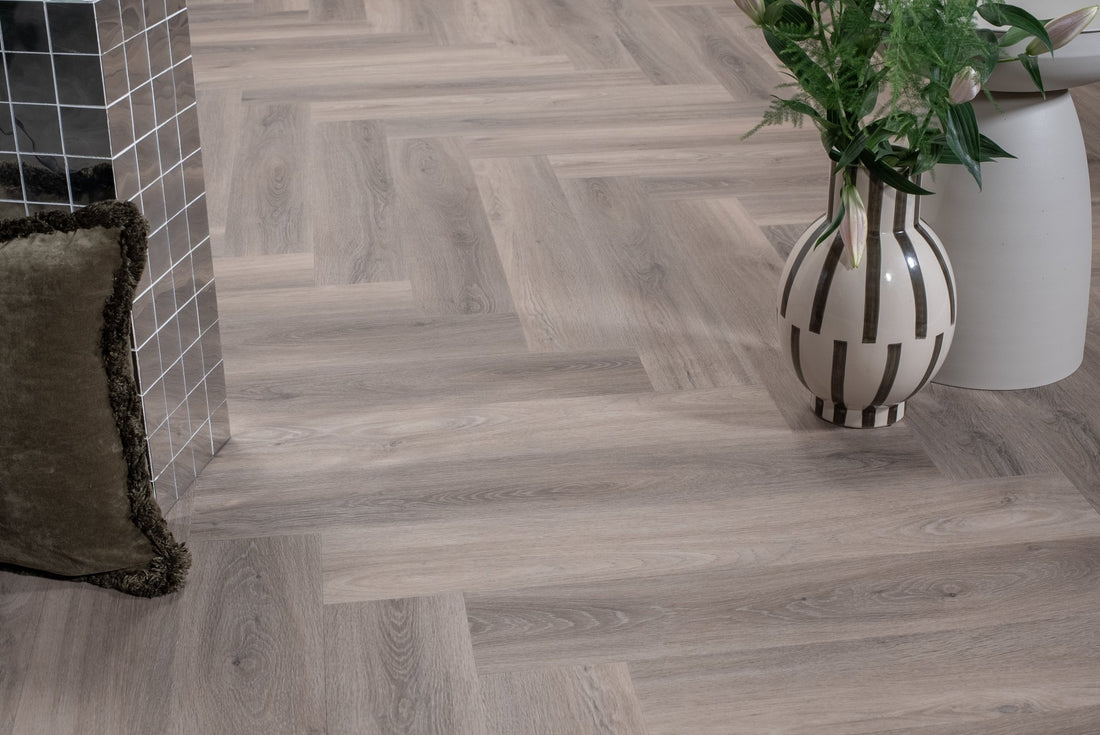
Which laminate floor will you choose?
When choosing a laminate floor, it's important to consider your personal style, the function of the room, and the quality of the laminate. At Solza flooring store, you'll find an extensive collection of laminate floors in various types, sizes, and styles, from sleek and modern to classic and timeless. We are proud to be an official dealer of renowned A-brands such as Quick-Step, Floer, and Floorlife, known for their durability, innovative designs, and ease of use. At Solza, we are happy to advise you on the best choices so that your new floor fully meets your expectations.
Step 1: Check the tiled floor
Before you start laying laminate, it's important to inspect the tiled floor. A stable base ensures that your new floor not only looks good but also lasts a long time.
- Inspect the condition of the tiles: Make sure there are no loose tiles or cracks. If necessary, you can glue loose tiles or repair cracks.
- Check for flatness: Use a long spirit level to check if the floor is even. Small height differences (up to a few millimeters) can be absorbed by the underlayment. Larger unevennesses must first be leveled. Ask us in the store for suitable leveling compounds!
Step 2: Choosing the right underlayment
At Solza, we offer a wide range of underlays suitable for different rooms and situations. A good underlayment is indispensable for laying laminate over tiles.
- Damp rooms: For rooms such as kitchens and bathrooms, we recommend a moisture-resistant underlayment. This prevents moisture from damaging your laminate.
- Sound insulation: Do you live in an apartment or want to minimize noise pollution? Then choose a sound-damping underlayment.
- Application: Roll out the underlayment and cut it to size. Make sure the seams are tightly together and use tape to prevent shifting.
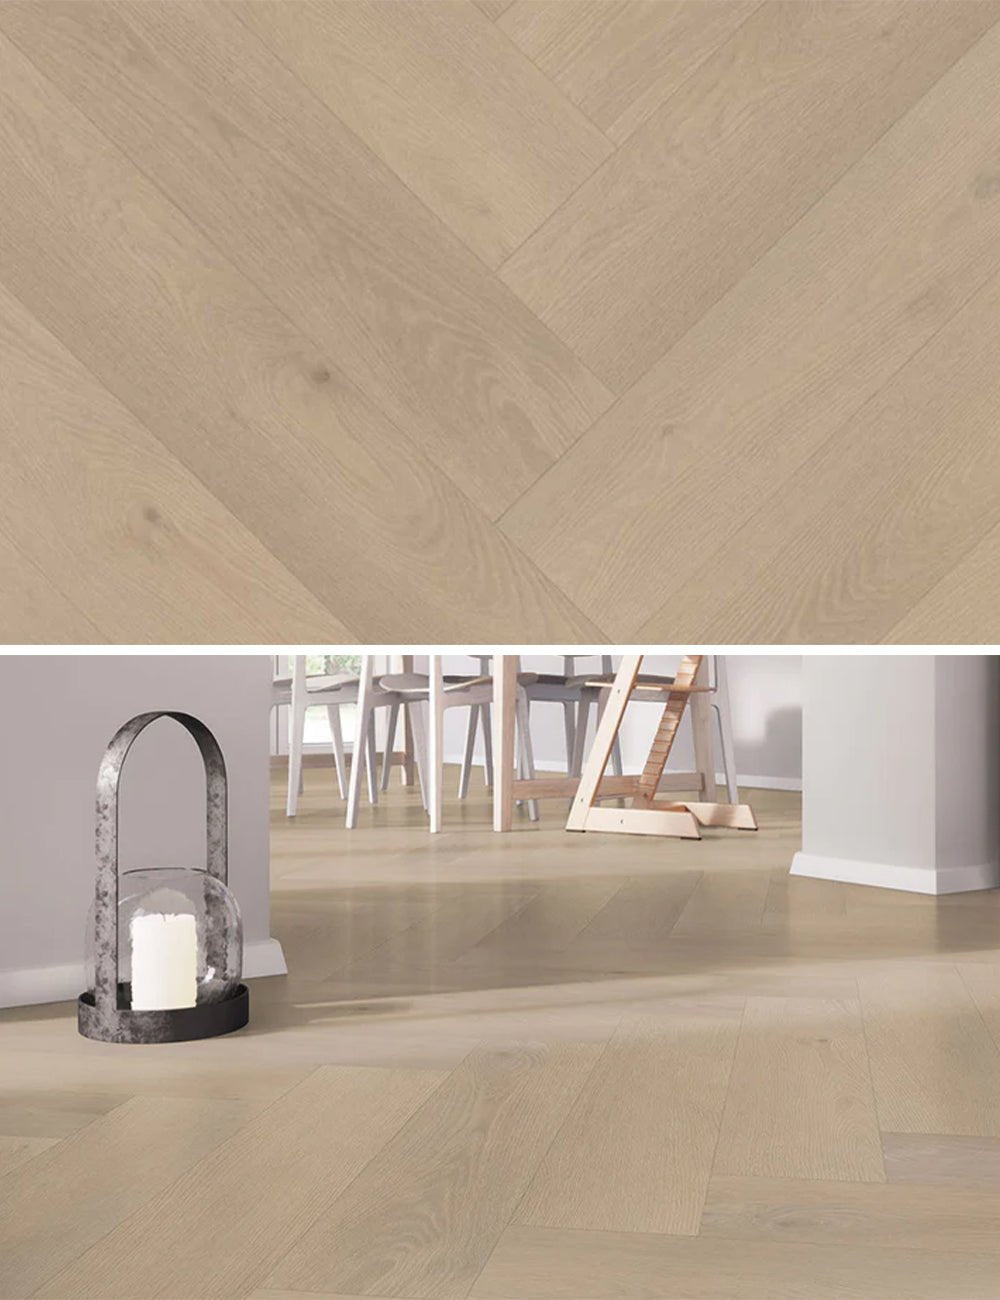
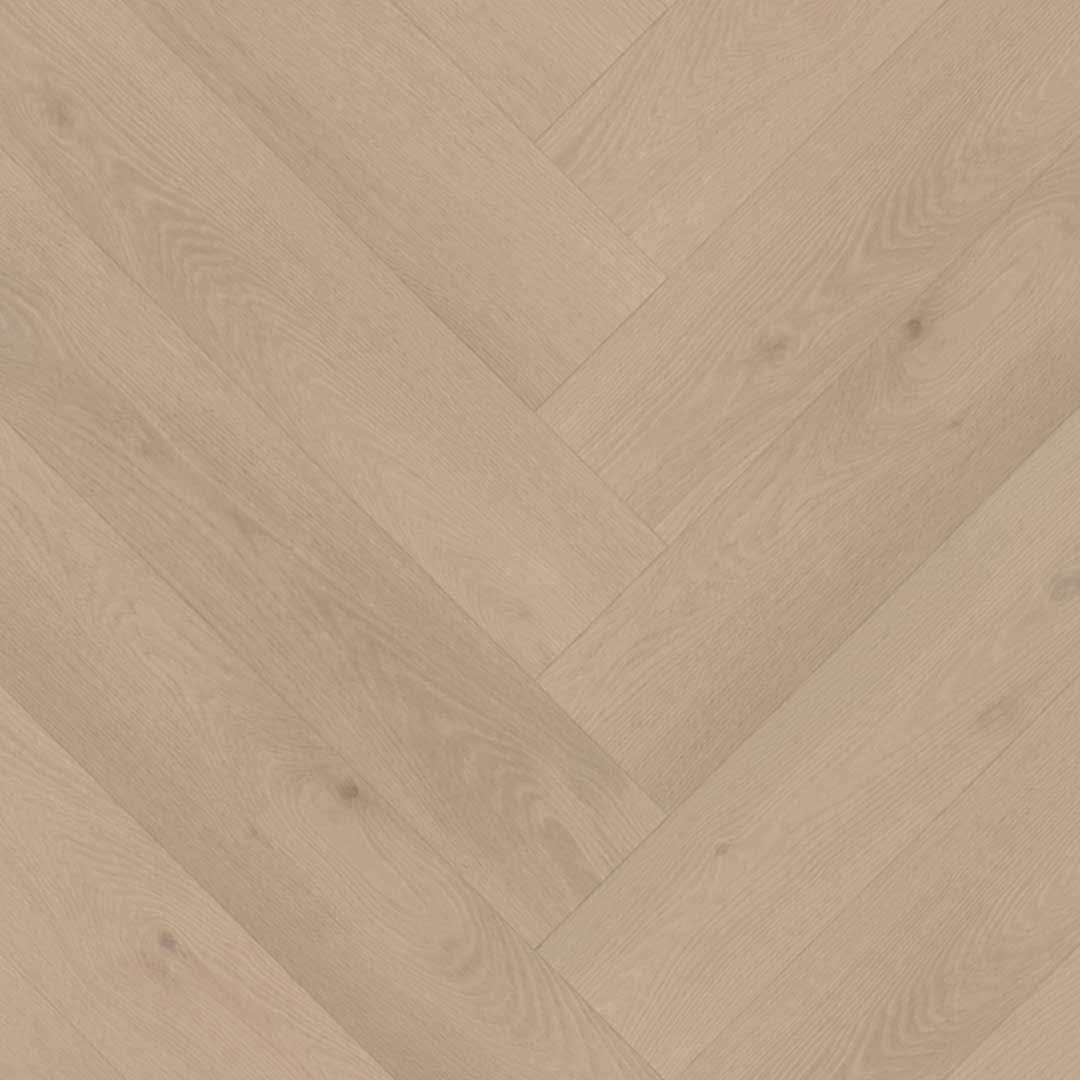
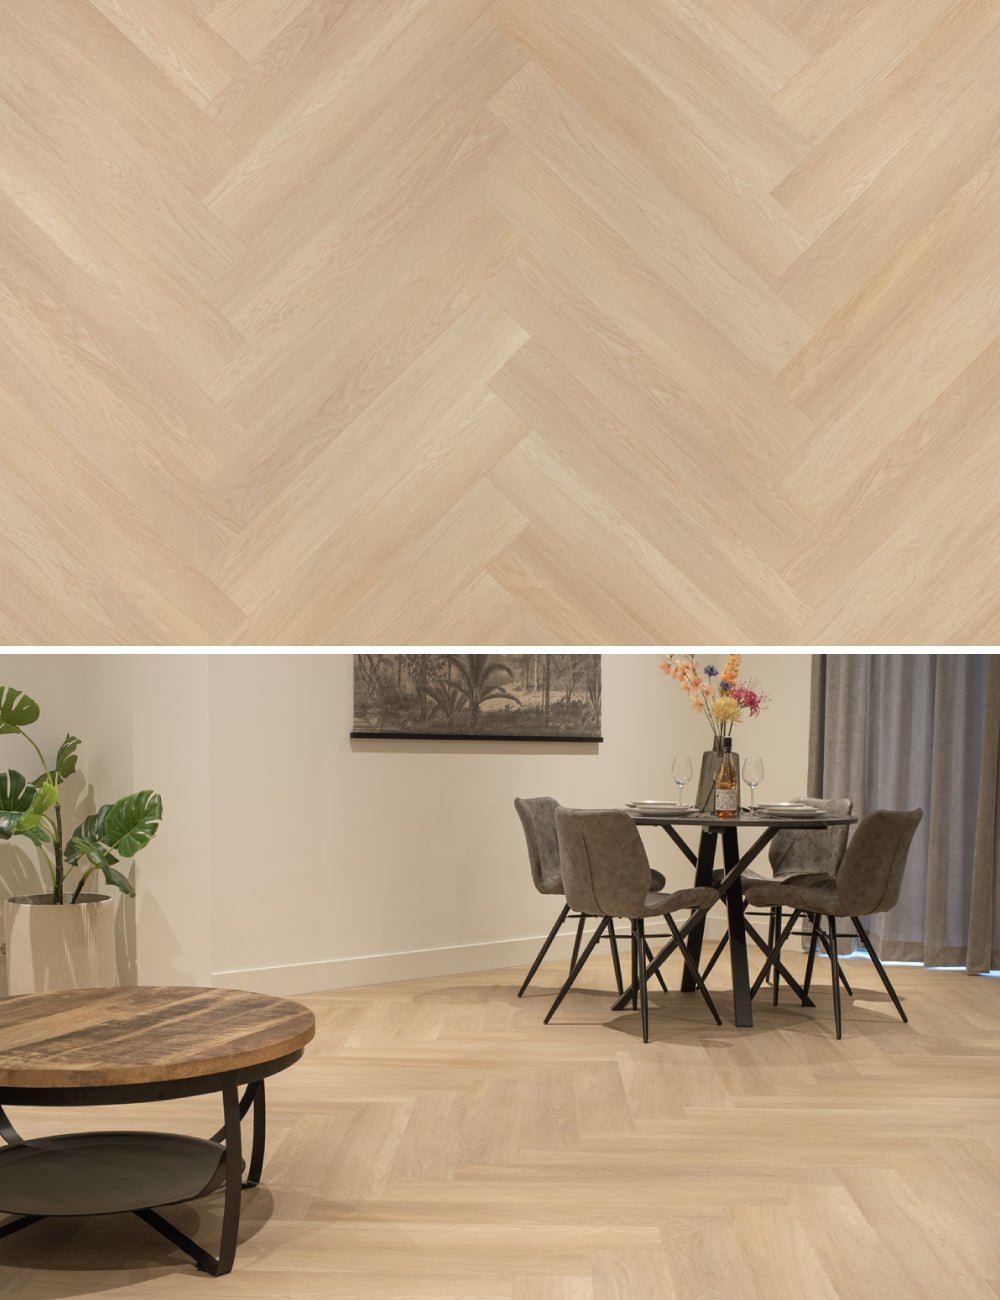
Are you considering herringbone laminate? Then it is extra important to pay attention to the correct underlayment. Herringbone patterns require an extra stable and flat base to prevent potential problems in the future. Therefore, always check the required KpA values for the floorboards with herringbone laminate. Our staff will be happy to advise you on the best underlayment for your situation.
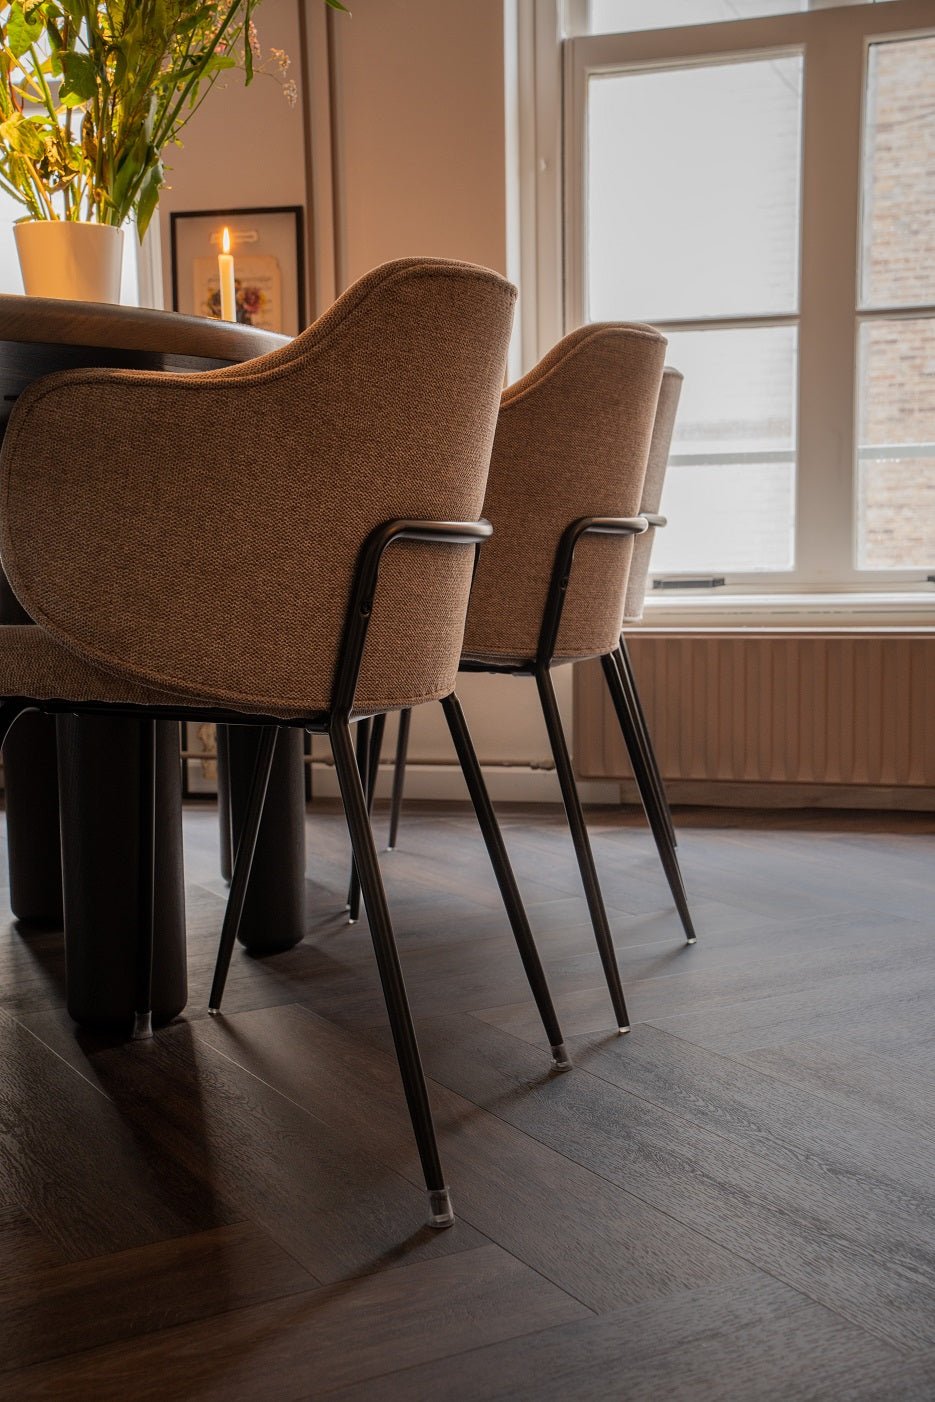
Step 3: Laying the laminate floor
Now that your underlayment is in place, you can start laying the laminate. This is the moment when your new floor comes to life.
- Start at the longest wall: Begin laying the first row of laminate along the longest wall of the room. Don't forget to maintain an expansion gap of 8-10 mm along the walls and other obstacles, such as pipes. This gap allows the laminate to expand and contract with changes in temperature and humidity.
- Use click system: Laminate floors from Solza feature an easy click system. This makes laying quick and easy, even for beginners. Follow the instructions on the packaging for a perfect result.
- Check the seams: Make sure all planks are tightly together and regularly check if your floor is straight. This prevents problems with subsequent rows.
Additional tips from Solza
-
Shorten door frames: Due to the extra height of the underlayment and laminate, doors and door frames may no longer open and close smoothly. Saw or sand down the bottom of the door frames and doors slightly if necessary.
-
Ventilation: Ensure a well-ventilated room during installation, especially if you are also using glue for additional flooring components.
-
Finishing: Use skirting boards or profiles to neatly finish the edges of your laminate floor. At Solza, we have skirting boards in all sorts of colors and styles that perfectly match your laminate.
Why choose Solza?
At flooring store Solza, we believe that every floor should have a solid foundation, both literally and figuratively. We offer not only high-quality laminate floors and underlays but also professional advice and tools to ensure your project runs smoothly. Whether you're a DIY enthusiast or prefer to use our installation service, we are here for you. Visit our store or browse our collection online. Together, we will create the floor of your dreams!